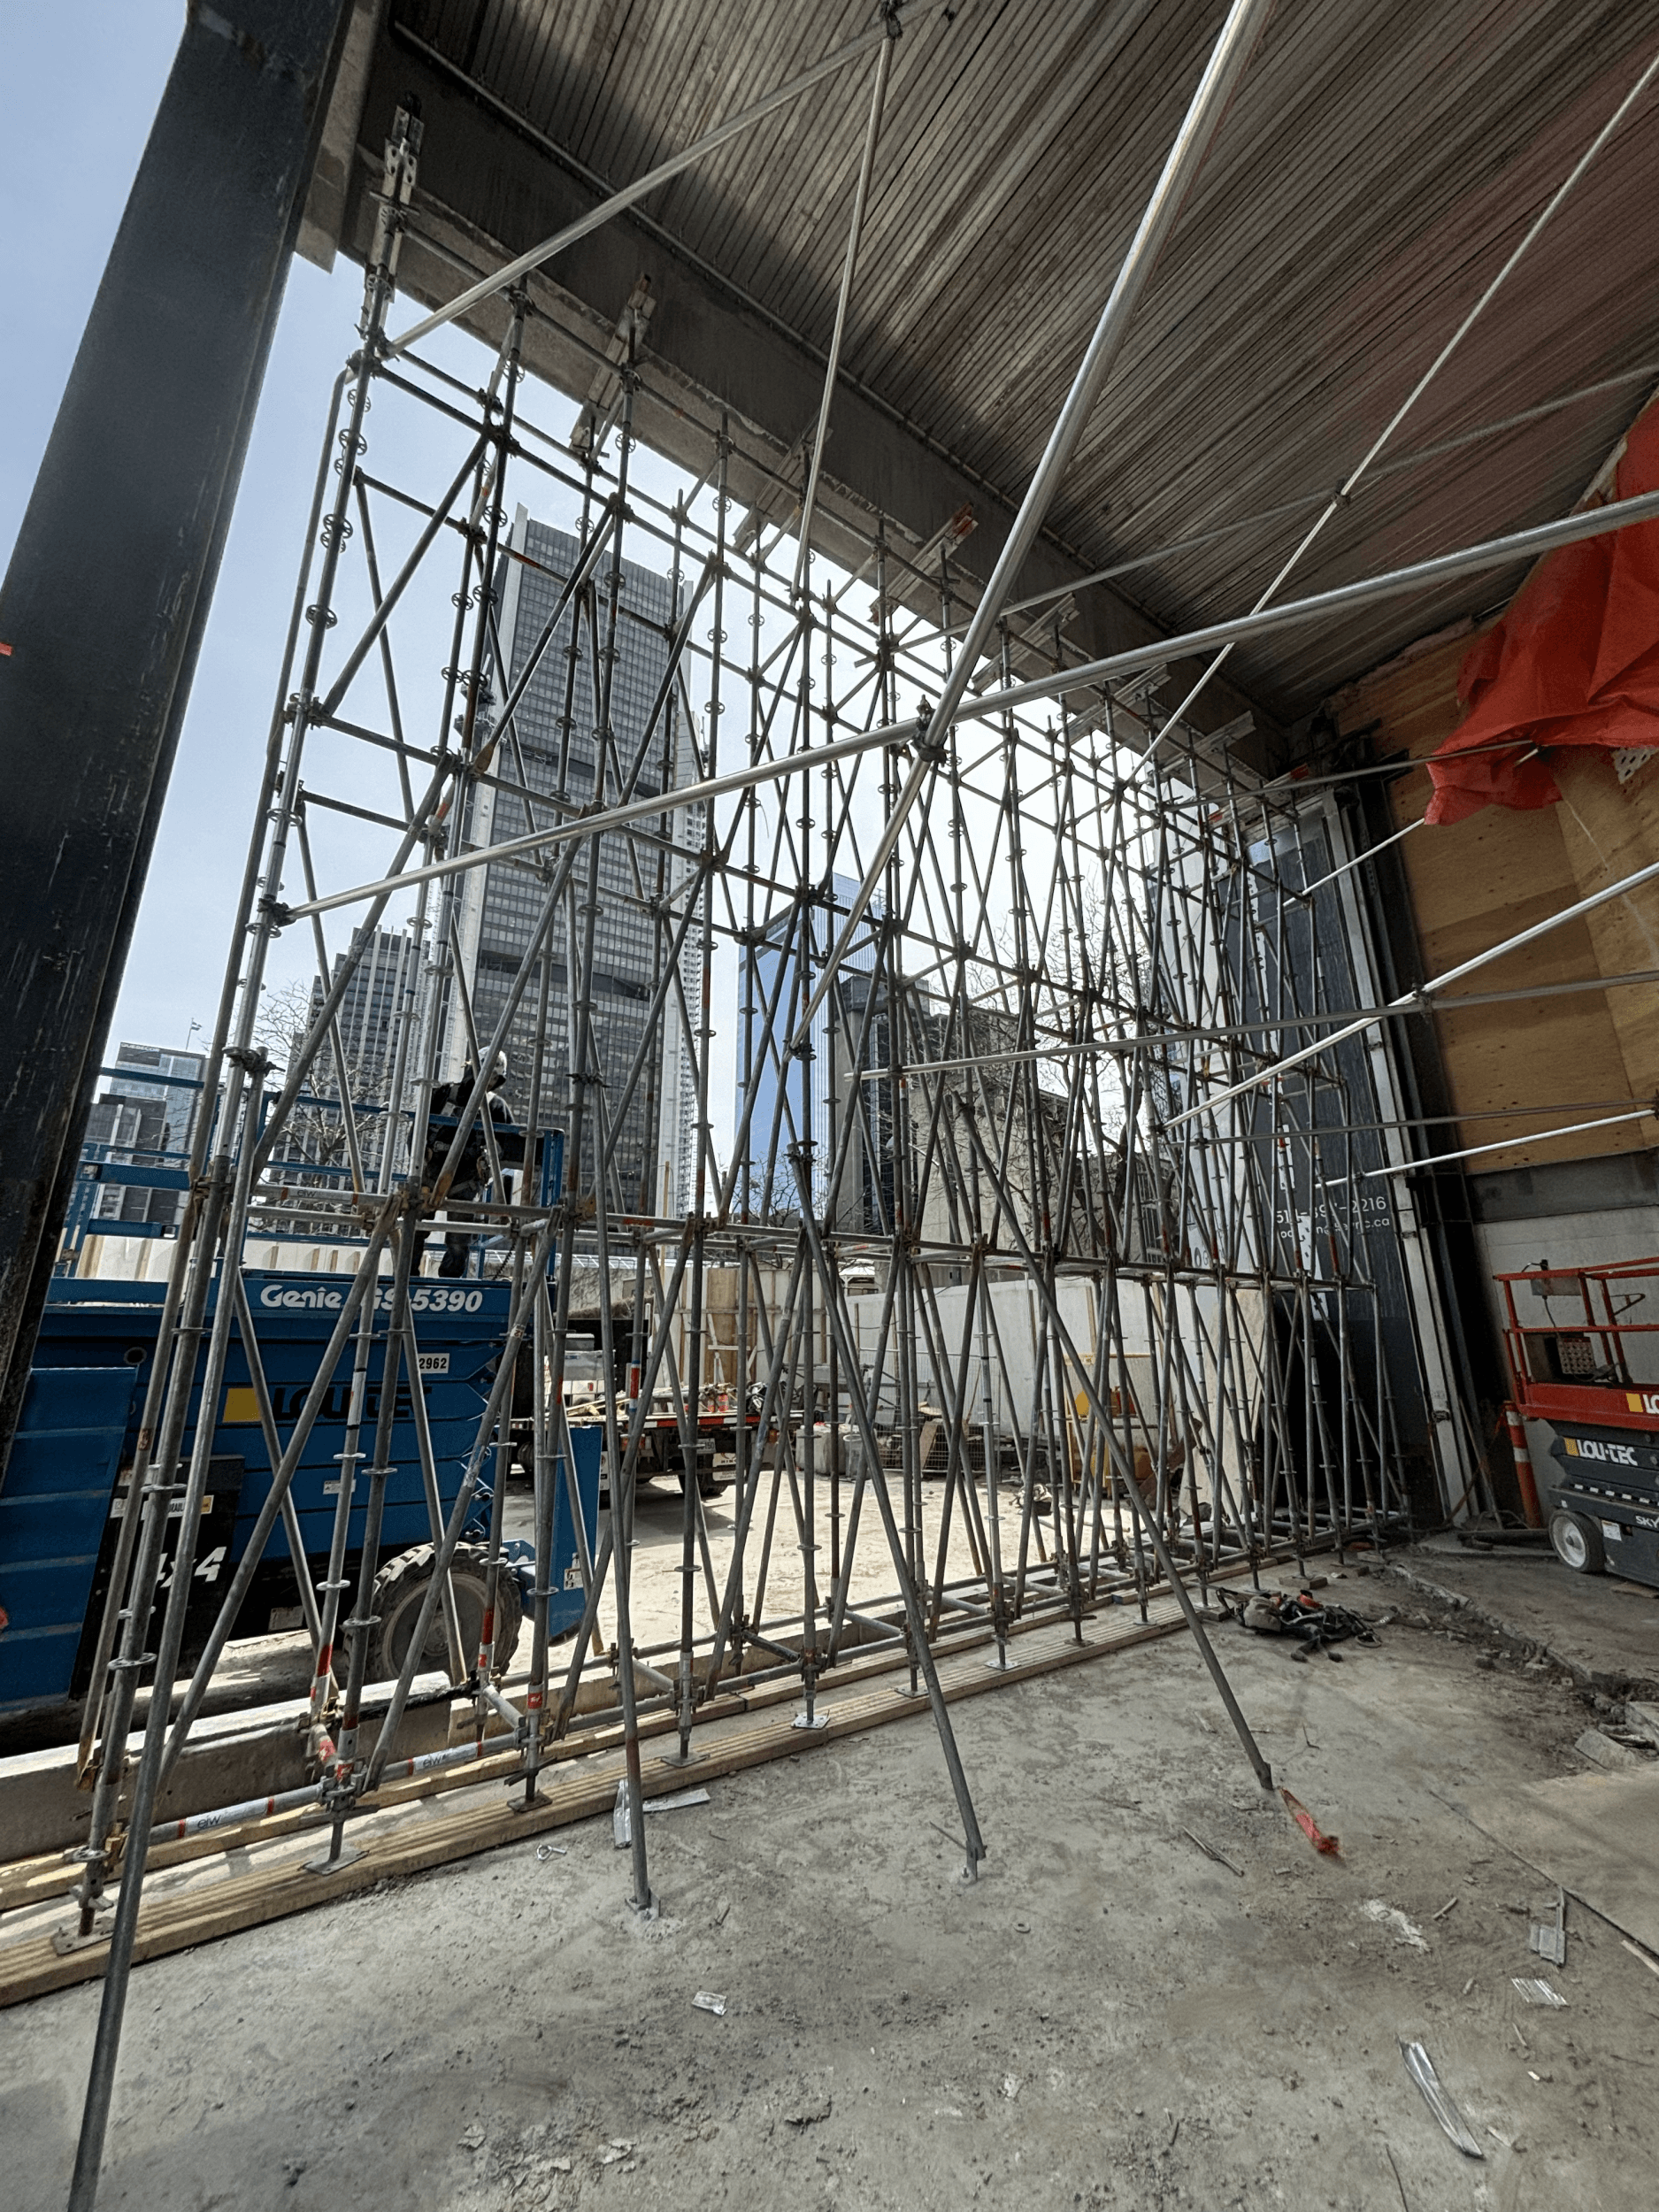
Scaffold Setup & Site Safety
This page outlines standard installation procedures for EIW system scaffolding on active job sites.
For full system capabilities, see Scaffold System Overview.
For full system capabilities, see Scaffold System Overview.
System Scaffold Installation Procedure
Follow this standardized procedure for EIW system scaffold installation.
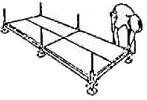
Phase 1 — Base Setup
1. Initial Layout
• Fit adjustable bases with collars and loosely position them in line with corresponding ledgers • Select the highest ground point as your reference to simplify leveling • Set screw jacks near the bottom of the thread to maximize adjustment range on uneven terrain
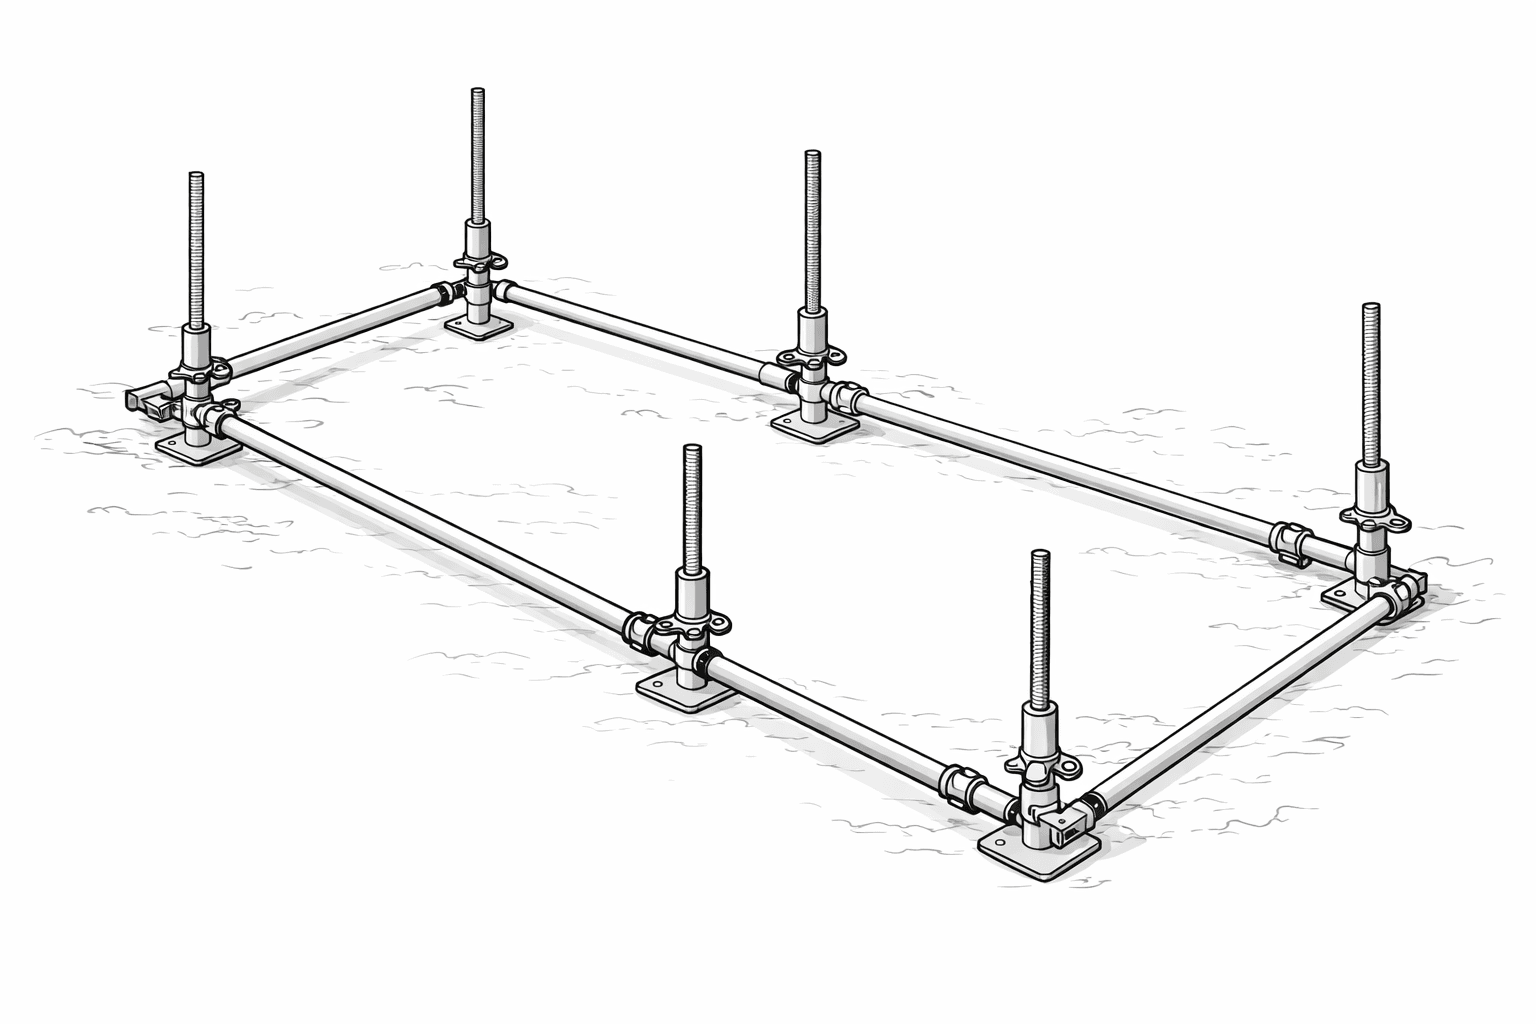
2. Ledger Connection
• Attach ledgers to the rosettes on each base collar
• ⚠️ Do not fully tighten or drive wedges at this stage
3. Leveling
• Use a spirit level to adjust the bases until ledgers are fully horizontal • Proper leveling at this stage prevents rework as the structure rises
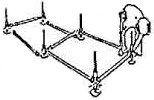
4. Squaring the Base
• Lay two aluminum planks or four 255 mm (10") boards across each bay • Work around the perimeter to square the system • Once aligned and level, fully secure all wedges
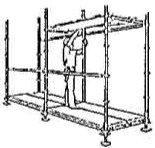
Phase 2 — First Lift
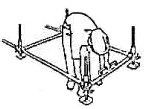
1. Standard Installation
• Insert initial standards into the base collars once the layout is confirmed
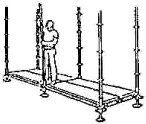
2. First Lift Setup
• Install ledgers at the designated first lift height
• Confirm alignment across all frames before proceeding
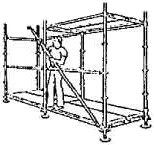
3. Guardrail Alignment
• Install guardrails as required
• System geometry will naturally align as the structure rises
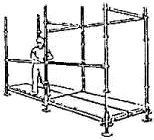
4. Decking the First Lift
• Raise planks to the first lift level
• Fully deck the working platform if access is required
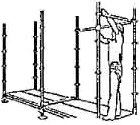
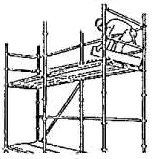
Phase 3 — Structural Lock‑Off
1. Bracing & Lock-Off
• Install diagonal bracing across all bays
• Fully secure all wedges and locking components
2. Platform Completion
• Install midrails, top rails, and toe boards
• Verify full compliance of the working platform before use
Pre-Installation & Safety Checks
Pre‑Setup Inspection
• Inspect all components (standards, ledgers, bases, planks, braces) for damage or wear
• Confirm all required components are present before starting
• Verify ground conditions are stable, especially on slopes or soft surfaces
Site Safety Controls
• Ensure all personnel are wearing required PPE (helmets, gloves, safety boots, etc.) • Clear the work area of debris, obstructions, and overhead hazards
Post‑Level Verification
• Recheck alignment using level and measuring tools • Mark key reference points for future lifts or dismantling
Load Preparation
• Identify maximum allowable platform loads per lift
• Clearly label working platforms with load limits and access points
Related Scaffold Resources
• For full system capabilities, see Scaffold System Overview • For component details, see System Scaffold Setup • For project examples, see System Scaffold Projects • For industrial applications, see System Scaffold Industrial Toronto • For coordinated work with steel installation, see Structural Steel Installation

Request System Scaffold Information
Request technical specifications, product information, or project support from the EIW Scaffold Team. Engineered scaffold solutions for industrial, commercial, infrastructure, and specialized construction environments.
Safety Disclaimer
EIW provides this guidance for general reference only. Scaffold erectors and users must comply with applicable codes, manufacturer instructions, and all authorities having jurisdiction. Always consult your site safety officer before beginning work. Certificates and safety documentation verified February 2026.
Referenced Standards and Guidance


• All applicable local, provincial/state, and federal regulations issued by authorities having jurisdiction over the work must be followed.

Serving Ontario’s industrial construction sector since 1955